 (back to Bilbo)
Bilbo's Jacket
I was very worried about making the jacket. I got an old Simplicity pattern (7075) from my mother (she used it to make her 'tuxedo' jacket for band), it has a shawl collar and patch pockets - and was already a large size and wouldn't need too much upgrading (except for the sleeves). So that would probably work for the front of the coat. But the back is a totally different style! The back has princess seams for the upper back, a 2" wide flat band, and then a double box-pleated skirt that I believe also has a center vent. Not the sort of back you usually find with a shawl collared smoking jacket or coat. And I couldn't find a back pattern anything like this. so.... I get to make the whole thing up.


Body
Simplicity 7075 was actually relatively easy to put together -
especially when I ignored half of the fiddly bits and focused on the
main front of the body. I expanded the shawl collar a bit, since
Bilbo's comes nearly out to the shoulder seam.
 I
know, it doesn't look like a whole lot at the moment, but here are the
front panels. I also still need to make up the pockets. I think it's
going to look great with the quilted lining! I can hardly wait to put
that with it.
I
know, it doesn't look like a whole lot at the moment, but here are the
front panels. I also still need to make up the pockets. I think it's
going to look great with the quilted lining! I can hardly wait to put
that with it.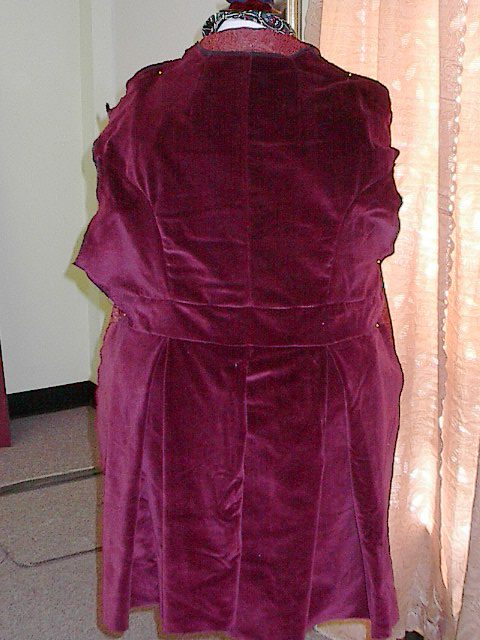
Like I said: I was nervous about making the back. But I considered it in 3 parts: upper, ban d and skirts. I felt the band
was the simplest, so I cut a 2" (plus seam allowances) strip of fabric
and pinned it into place to the front side seams -about waist high.
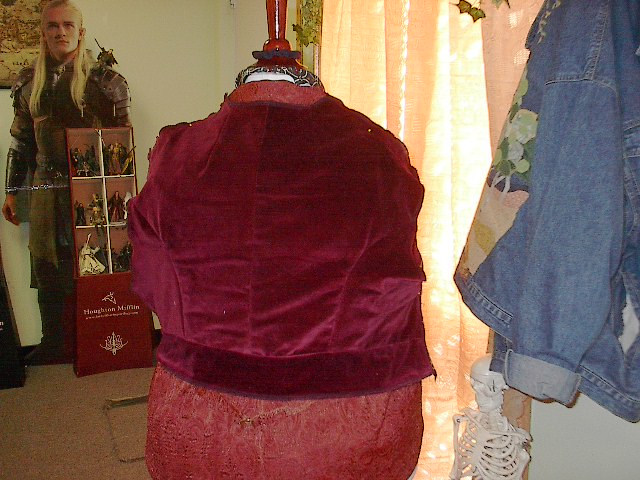
Then I had to face the uper back. I tried using the back from a
different pattern that was bigger than the back that came with my
mother's pattern. They were both for a flat back which would have to be
altered into princess seams anyway. Ooh, not good. I was depressed and
almost gave up. Luckily, I'm made of sterner stuff! I figured, what the
heck, took the back panel from the original pattern (hey! it attached
to the front soo much better. duh.) and instead of drawing the princess
seam placement on, cutting it and reattaching the pieces (so bad), I
took my box of pins and pinched the seams into place. Tightening and
tailoring the back panel as I went, following where the curve should
go; pin basting. hey! that looked pretty good. And when I cut out those
pieces and tried reattaching them, wow! it fit! Ok, so I started only
doing 1/2 the back. When I saw it worked I did the other side as well -
filling in the upper back and fully attaching to the band. gee, the
worst part of the back was done, and not so badly.
The bottom skirting turned out to really be simply two very long
rectangles incorporating a 4" box pleat each. When the lining is put
in, I'll finish off the center vent better. But wow: doing it up now in
the velveteen looks stunning. I've got the shoulders and sides all
attached now. I can't wait to do the lining. (ok, I cut out the back
lining pieces before I left)
Lining
So the lining will follow the pattern I made for the coat - except the
front facings need to be quilted, and the turnback cuffs need to be
quilted.